Hey guys, I’m a frequent reader of OMG! Ubuntu!, and I read a guide about how to install the MATE desktop environment on Ubuntu 14.04 LTS. While this is neat, many people (such as myself) prefer their distribution to have one and only one desktop environment to prevent duplication of features and waste of space. As a result, I decided to write this guide.
Note: This is more technical than a regular install of Ubuntu. You may get lost, not know what to do if something goes wrong, or your cat may be sacrificed. You have been warned.
Note: This does not work well on wireless internet. You should use ethernet for installing from the minimal CD ISO (mini.iso).
Note: The minimal CD iso (mini.iso) does not work on UEFI systems. Please boot using a legacy BIOS mode.
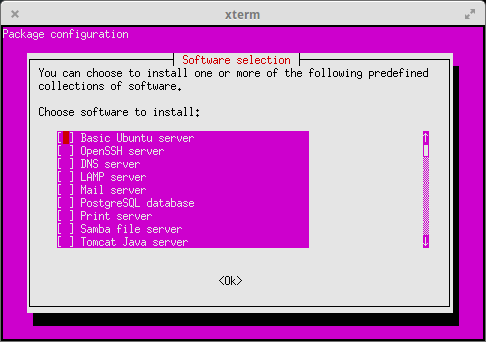
With that out of the way, let’s get started. First, you’ll need to download a minimal version of Ubuntu called “mini.iso”. You can download this from here, but be sure to download the right version and architecture for your computer. Once that is downloaded, write it to a USB, load it in VirtualBox, or burn it to a CD, whichever your favorite method of installation is. Once that is done, boot and go through the text-based installation using the keyboard. It will give you basic prompts such as keyboard layout and automatic Ethernet configuration. Continue with the installation by following the prompts, but when you reach a menu that looks like this, select nothing and select “OK”.
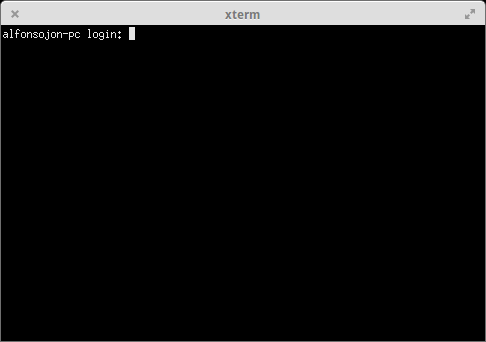
Once you’ve moved on, the installer will finish installing the system and will reboot. Once it has restarted, you will get to TTY1, and there will be no desktop to log into. This is normal, we’re getting there. Log in with your account you set up during the installation procedure (note: your password will not be displayed, so be careful to not make a typo). For a reference, it will look something along the lines of this.
Once logged in, you will be greeted by a bunch of text giving you details about your system. Once this text has displayed, it’s a good way to tell you’re completely logged in. At this point, you need to run the following commands:
sudo apt-get install software-properties-common

sudo apt-add-repository ppa:ubuntu-mate-dev/ppa

sudo apt-add-repository ppa:ubuntu-mate-dev/trusty-mate

sudo apt-get update

sudo apt-get install ubuntu-mate-core ubuntu-mate-desktop
Optionally, you can install the light-themes package if you think that the Ambiant-MATE theme is ugly. You can do this by running the following command:
sudo apt-get install light-themes
After this finishes, you can get to your desktop either by restarting the computer (or virtual machine) or by running the following command:
sudo service lightdm restart
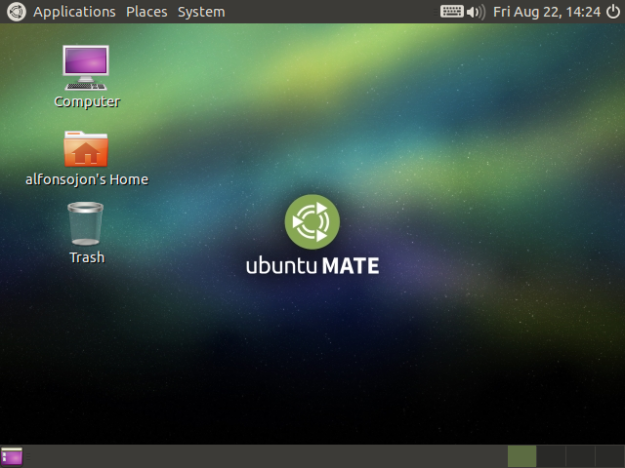
Now that all of that’s done, you should be greeted by Ubuntu 14.04 LTS MATE Edition, using only MATE applications and the standard Ubuntu extras, such as LibreOffice. Enjoy!


Does the mini iso install ubuntu server or ubuntu regular kernel without a desktop?
LikeLike
It installs the desktop kernel by default unless you select “Basic Ubuntu Server”.
LikeLike
Thanx, gonna try it out
LikeLike
apt-add-repository doesn’t work, you first have to install:
sudo apt-get install software-properties-common
LikeLike
Ah thanks, forgot that part.
LikeLike
Great! I’m using debian based Mate desktop. But now, i’m think about yhis solution!
LikeLike
The Debian-based method is also very good, but you do not get Ubuntu-specific changes such as the boot screen or Firefox.
LikeLike
thanks for the mini iso!
just know they have it lol
LikeLike